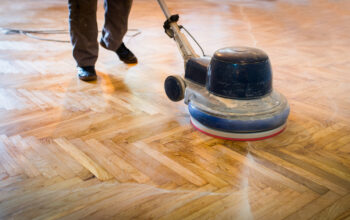
Grout is a vital component of any bathroom or kitchen tile project. It keeps the tiles in place and prevents moisture buildup, which can cause significant damage. However, grout can become damaged over time and lead to unsightly gaps or leaks that can damage your walls and floor. If you need to conduct a grout repair in Perth, this blog post is for you.
This post will compile a step-by-step guide to help you repair your grout like a pro.
Tips for Effective Grout Repairs in Perth
Step 1: Inspection
The first thing you need to do is to inspect the damaged grout. Check if the grout is chipped, cracked, or has gaps. Next, assess the severity of the issue. If the damage is minor, fixing the grout may only require a small amount of grout filler. However, if the damage is significant, you may need to remove the old grout and apply a new one.
Step 2: Preparation
Before you start any repairs, make sure that you have all the necessary tools and materials. You need to have a grout saw, grout mix, sponge, and a utility knife. Additionally, clean the area where you plan to conduct the grout repair. Remove any dirt, debris, or grime from the surface.
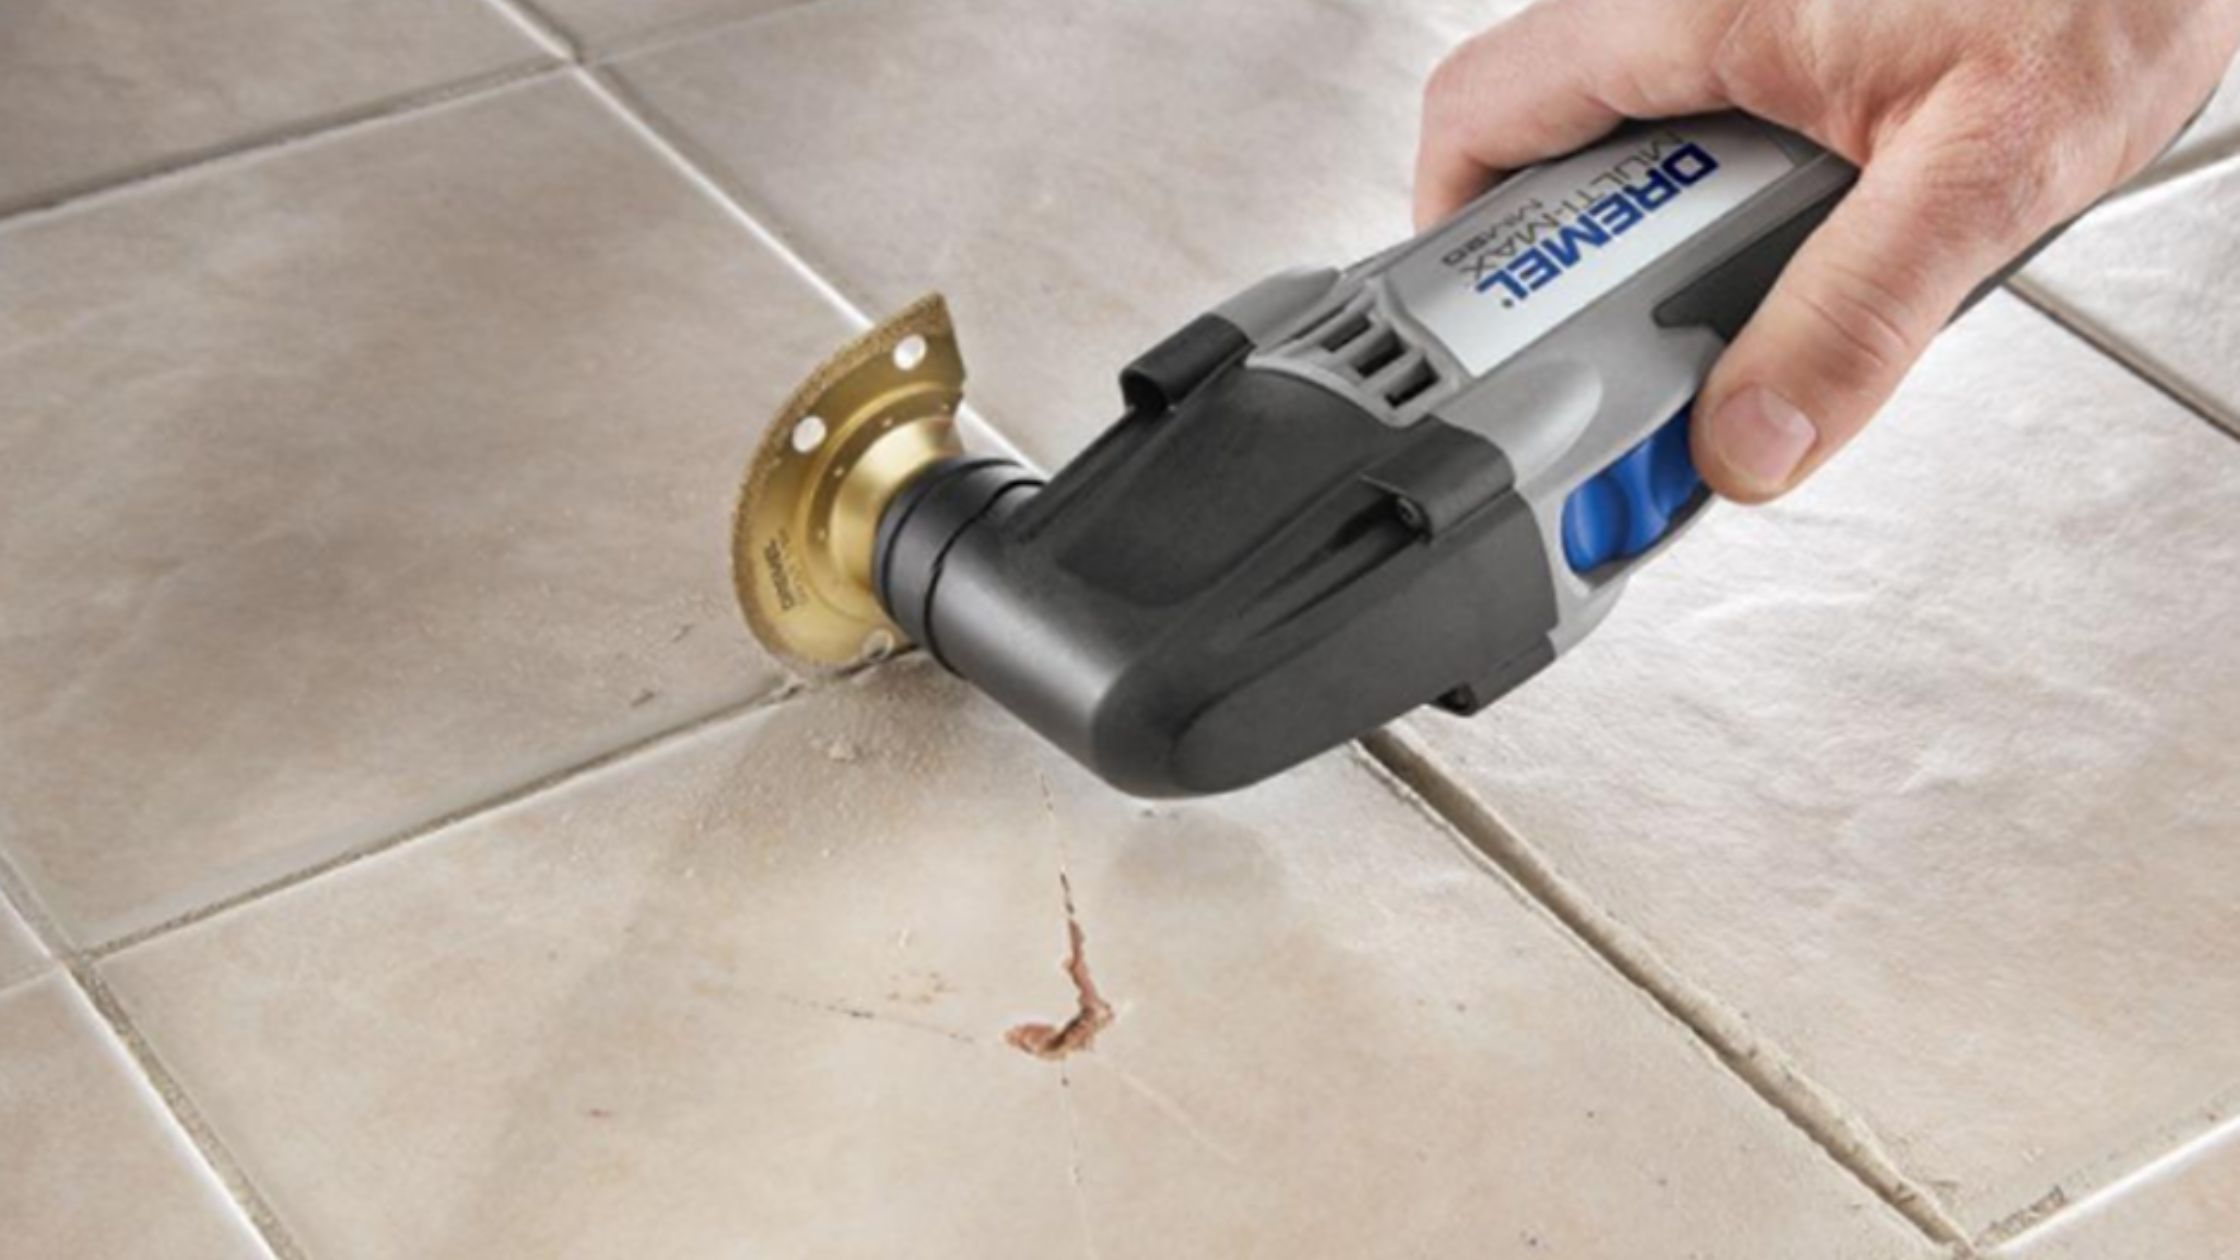
Step 3: Remove the Old Grout
If the damage is significant, you may need to remove the old grout. A grout saw can help you remove the grout efficiently. Use the saw to cut along the grout lines, but be careful not to chip the tiles. Once you have removed the grout, clean the surface, and ensure that it’s dry before proceeding to the next step.
Step 4: Apply the Grout
The next step for grout repair is to mix the grout according to the manufacturer’s instructions. Next, scoop some grout and apply it to the damaged area using a utility knife. Ensure that you spread the grout evenly. Once you have applied the grout, wait for 10-15 minutes before continuing to the next step.
Step 5: Clean the Area
After applying the grout, take a damp sponge and clean the area. Ensure that you don’t wash away the grout you have just applied. Rinse the sponge and repeat the process until the surface is smooth and clean. Now, wait for the grout to dry for 24 hours before using the tiled area.
Step 6: Seal the Grout
After the grout has dried, it’s crucial to seal it to protect it from future damage. Apply a layer of grout sealer to the surface using a small brush or a roller. Ensure that the sealer has fully dried before using the area.
Step 7: Maintenance
Finally, to keep the grout in excellent condition, conduct regular maintenance. Clean the surface regularly, and if you notice any damage, repair it immediately. Avoid using abrasive cleaners and never use ammonia-based cleaners as they can damage the grout.
Step 8: Call an Expert
If you are unsure about how to repair your grout, or the damage is significant, it’s always best to call an expert. A grout repair professional can help you assess the damage and provide you with a long-lasting solution.
Step 9: DIY with Care
If you opt for DIY repairs, take precautions. Wear gloves and a dust mask to prevent inhaling dust and grout debris. When working around the tile area, cover the tiles with plastic to avoid damaging them. Keep children and pets away from the work area.
Conclusion:
Grout repairs in Perth can be a daunting task, but with these simple steps, you can fix your grout like a pro. Always take precautions when working with grout, keep the area clean, and conduct regular maintenance to keep the grout in excellent condition. Remember to call an expert if you are unsure about the repair process or if the damage is significant. With these tips, you can keep your bathroom or kitchen in tip-top shape.